Installation
Set up the CLI
Download the latest version here.
What you will get is a zip folder, containing the files you need to get started with Mac OS, Windows, and Linux.
After unzipping the file you see the different implementations of the CLI.
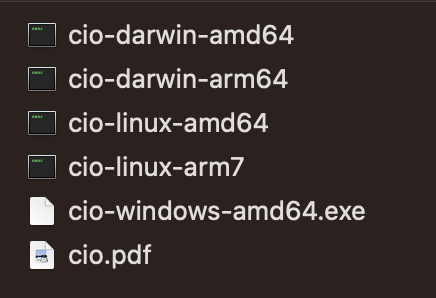
Choose the one suitable for your operating system.
cio-windows-amd64.exefor 64-bit Windowscio-macOS-amd64for 64-bit Mac OScio-macOS-arm64for 64-bit Mac OS with M-Chipscio-linux-amd64for 64-bit Linuxcio-linux-arm7for ARM 7 (e.g. raspberry pi)
There are two main ways to use the tool:
- placing the file where it is used or calling it via its path, for example:
./cio-windows-amd - adding the tool to your
$PATHvariable to make it available across your system
No matter which way you choose, you have to execute the suitable file (Windows/Mac/Linux) first.
"This software comes from a non-verified source"Click to expand
If you encounter that error message while trying to install a program on your macOS, don't worry; you can still proceed with the installation by following these steps:
- Control-Click (or Right-Click): Start by control-clicking (or right-clicking) on the file. This action will open a contextual menu.
- Open: In the contextual menu, look for and select the "Open" option. This choice will override the default security settings temporarily.
- Confirmation Dialog: A confirmation dialog will appear. Click "Open" to confirm that you want to proceed with the installation despite the non-verified source warning.
- Installation: The program or installer will now begin the installation process without further security warnings.
Option 1: Call cio directly
After running the file for the first time, you are ready to use it by calling it with the path and the command. If you are in the same folder you can try ./cio-macOS-arm64 --version. This command should return the version that is running, for example: cio version 0.38.0
OptionalIf you opt for the first method; create a working folder; put the file inside and rename the the executable to
ciofor ease of use.
Option 2: Add cio to your Path Variable
If you would like to add the program to your path variable, here is some info on how to work with the $PATH variable on Windows, Mac and Linux.
To verify your installation open a terminal and enter cio --version to check your current version of cio. If everything works fine, cio responds with its version number, for example: cio version 0.38.0
Connect cio to the API of an Operations1 instance
To work with the CLI tool on data you need to connect cio to the API of an operations1 instance. This is done with an access token. This token is attached to a special user that needs to be set up first.
Create a technical API User
Follow these steps to create a technical user:
Your own account needs the permission to create new users.Make sure that you either have that permission or ask a suitable user to execute the following steps for you.
- Log in to your Operations1 instance.
- Navigate to the System Settings and open the Users Menu.
- Click "New API user account" in the menu on top.
- Name the "user" and configure it.
- Click "Save".
- This is now your technical user account. In the user list, it is shown with this key icon.

Create the access token
- Find your API User and click the key icon to access the dialogue to create an access token.
- Choose an expiry date for the token.
- Click the reload icon to generate the token.
The token will be only displayed once when it is created!Make sure to handle it accordingly.
Having created a valid access token, you can now proceed to log in with cio.
Login with your Access Token
- Use
cio loginto log in to the server. You will be asked for the server URL and the access token. - Check with
cio pingwhether you are connected to the server. The expected response looks something like this:
{
  "server": "https://yourcompany.ops1.app",
  "version": "8.75.1-rc.1"
}
Congrats!If you have made it this far you have sucessfully installed cio and logged in to your instance.
Updated 11 months ago