Example: Export Reports as CSV Files
Here is an ideas on what to do with our CLI tool
Our UI provides a manual export of a report as a CSV file. If you need a lot of them, or like to automate this, here is a little example of how to do that with our CLI tool and a scripting language such as Python.
What you will need
- Our CLI tool installed and logged in to the desired instance of Operations1.
- Python3 installed on your machine.
What the CLI tool does
In order to download the reports, we need to specify which reports we want to download. Reports are identified by their ID. To retrieve those IDs, we use the progress ls command. This command allows us to get a list of reports and their IDs which can be filtered. We are filtering by their status and the last updated timestamp. Here's an example:
cio progress ls --state done --updated-at 2023-07-23T13:10:11+02:00..2023-07-26T13:10:11+02:00
{
"id": 15251,
"name": null,
"instructionId": 322325,
"instructionName": "Angießvorgang Verteiler S2",
"comments": null,
"numOfSteps": 2,
"stepIndex": 1,
"createdAt": "2023-07-26T08:10:19.187Z",
"createdBy": 1669,
"createdByUserName": "EB",
"updatedAt": "2023-07-26T08:10:45.657Z",
"updatedBy": 1669,
"updatedByUserName": "EB",
"pdfs": [
{
"id": 1914,
"progressId": 15251,
"localeCode": "de",
"status": "completed",
"statusMessage": "",
"onlyCustomRows": false,
"includeStatusSection": true,
"includeOrderSection": true,
"includeMaterialSection": true,
"includeInstructionMetadataSection": true,
"includeTimestamps": true,
"useDatetime": true,
"useFullUsername": true,
"showMandatoryMarkup": true,
"includeAttachedMediaSection": true,
"includeCommentsSection": true,
"includeStepOverviewSection": true,
"includeCustomerAddress": true,
"includePassedStatus": true,
"includeInstructionClassifiers": true,
"includeStepLogSection": true,
"includeListOfParticipants": true,
"includeCompletedBy": true,
"includeOrderHeader": true,
"revision": 0,
"createdAt": "2023-07-26T08:12:54.316Z"
},
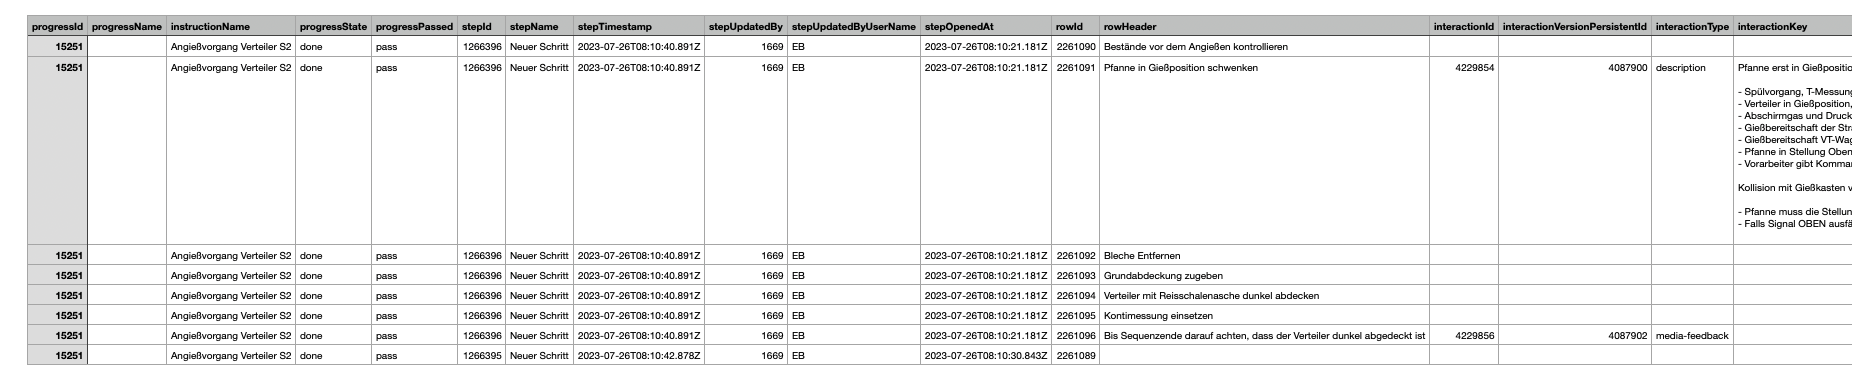
[...]Having retrieved this set of reports, we can use their ID to download individual reports as CSV with the command progress download-csv. Here is an example of an individual report using the command cio progress download-csv 15251. This command will download only a individual CSV file for report 15251 into your current directory.
To download multiple reports, we need to use a script that repeats this for each received ID.
Automating using Python
Here is a piece of Python code that does this for all reports matching a time range.
The script follows a similar structure.
- Specify your desired time range.
- Use
cio progress lsto retrieve reports from that specified time range. - Safe the returned progress IDs in JSON object
- Use the IDs in
cio progress download-csvcommand to download all CSV files.
If you are new to Python and programming; have a look at their Beginners Guide for Non-Programmers.
Run the Script Periodically
A common practice is to run this script on a regular basis to save all reports from the last week.
There are a lot of ways to periodically run Python code, you can use various methods and tools depending on your operating system and specific requirements. Here are some pointers to common approaches:
-
Cron Jobs (Linux/macOS):
- On Linux and macOS, you can use the built-in cron scheduler to run Python scripts at specific times or intervals.
- Open your crontab file by running
crontab -ein the terminal. - Add an entry to specify when and how often your script should run. For example, to run a script every day at 3:00 PM:
0 15 * * * /usr/bin/python3 /path/to/your/script.py - Save and exit the editor. Your script will run automatically according to the schedule.
-
Task Scheduler (Windows):
- On Windows, you can use the Task Scheduler to run Python scripts at specific times or on a schedule.
- Open the Task Scheduler from the Control Panel.
- Create a new task, specify the trigger (e.g., daily, weekly, at logon), and set the action to run a program (your Python script).
-
Python Libraries:
- You can use Python libraries like
schedule,APScheduler, ortime.sleep()to schedule and run tasks within your Python script. - These libraries allow you to create custom schedules and run code at specific intervals directly from your Python script.
- You can use Python libraries like
Here's an example using the schedule library to run a function every day at a specific time:
import schedule
import time

def my_task():
    print("Running my task...")

# Schedule the task to run every day at 3:00 PM
schedule.every().day.at("15:00").do(my_task)

while True:
    schedule.run_pending()
time.sleep(1)- Third-Party Services:
- You can use third-party services like AWS Lambda, Google Cloud Functions, or Azure Functions to schedule and run Python code in a serverless environment.
- These services allow you to set up triggers and schedules for your code to execute without managing the underlying infrastructure.
Choose the method that best fits your platform and requirements. For simple periodic tasks, cron jobs (on Linux/macOS) or the Task Scheduler (on Windows) are often sufficient. For more complex scheduling needs within your Python script, consider using Python libraries like schedule or exploring serverless options.
Updated 11 months ago